 ultimate-guide
Best Ways to Display Digital Photography at Home
Quick Summary
The best way to display digital photography at home is to choose a format that matches each room: a digital frame for continuous rotation, printed wall art for a fixed statement, or a frame-free clip system for renters. Start with five to ten favorite images on one wall or shelf, then build from there.
- A dedicated digital frame suits high-traffic areas because it runs continuously and pulls new images from a shared folder.
- Set a playback interval of 10 to 30 seconds per image for a calm rhythm.
- Aim for about 300 pixels per inch at the final print size for sharp results.
- Center wall art about 57 to 60 inches from the floor so it suits seated and standing viewers.
- Start with one room and five to ten images, then live with the display for a week before expanding.
Table of Contents
- Why Display Digital Photography at Home Instead of Leaving It on a Hard Drive
- Choosing Between Digital Frames, Smart Displays and Printed Wall Art
- The Best Way to Display Photos Digitally: Setting Up a Digital Photo Frame
- Preparing Your Digital Photos So They Look Good on Screen and in Print
- How to Display Multiple Photos on a Wall Without Making a Mess
- Photo Display Ideas Without Frames for Renters and Minimalists
- Photo Display Ideas for Living Room Spaces
- Accessibility, Maintenance and Ongoing Costs to Plan For
- Choosing Your First Display Setup This Weekend
- Frequently Asked Questions
Why Display Digital Photography at Home Instead of Leaving It on a Hard Drive
Last Updated: November 5, 2026

Most of us have thousands of photos sitting in folders nobody opens. At Photos by Mark Page, we believe the best ways to display digital photography at home turn those files into daily companions. A photo you see every morning does more for your mood than one you scroll past once a year. Keeping images on a hard drive or phone means they rarely get looked at, while a deliberate display brings calm, memory and a sense of place into the room you live in.
Display digital photography for the same reason you'd hang a painting: it changes how a space feels. A landscape of a quiet lake or an everyday moment captured at the right instant can shift the tone of a room within seconds. Browse a ready-to-download mountain lake landscape sized for a large print. Digital photography is also easy to rotate. You can change your display weekly, seasonally or whenever the mood shifts, without buying a new frame or drilling a single hole.
Renters and homeowners alike benefit from this approach. Walls may be off-limits for nails, and budgets may not stretch to large canvases, yet a screen or a printed sheet on a shelf still delivers the effect. See affordable ways to decorate rental walls for more options. The sections below compare the main formats, explain how to prepare your files, and walk through setup, so you can pick the option that fits your room and your habits.
Choosing Between Digital Frames, Smart Displays and Printed Wall Art
The three most common ways to show digital photography at home are dedicated digital photo frames, smart displays and printed wall art. Each one suits a different room and a different budget. A digital frame is a screen built to cycle through a library of images on its own. A smart display is a tablet or device that can also show photos, but it is designed for many other tasks. Printed wall art is a physical print in a frame, on a canvas or hung with a clip system.
For a dedicated living room or hallway, a digital frame is usually the simplest choice. It runs continuously, pulls new images from a shared folder and needs little attention once configured. A smart display suits a kitchen or office where you also want news, timers or video calls. Printed wall art is best when you want a fixed, tactile piece that never needs power and does not show glare from a screen.
Consider these factors before you buy:
- Room use: frames work well in high-traffic areas, while printed pieces suit quieter corners.
- Updates: a digital display can be refreshed remotely, but a print stays the same until you replace it.
- Power and placement: frames and smart displays need an outlet close by, whereas prints hang anywhere.
- Renter-friendliness: a freestanding frame or clip-on print avoids wall damage.
Many households combine formats. A printed landscape anchors the living room while a digital frame rotates family photos on a side table. The best choice depends less on the technology and more on how often you want the picture to change.
The Best Way to Display Photos Digitally: Setting Up a Digital Photo Frame
A digital photo frame is the most direct way to put your library on a screen, but the best way to display photos digitally is not simply to buy the first frame you see. It is to match the device to your room, prepare the files to its specifications, and set a rotation that stays calm rather than distracting. Setup takes about an hour for most people, and the result is a display that changes itself without further effort. We recommend starting with a small, focused collection of 50 to 100 images so the rotation stays varied and meaningful.
Once the frame is plugged in, you will typically connect it to Wi-Fi and link it to a cloud album or a shared folder. Many frames accept photos by email or through a companion app, which lets family members contribute from their own phones. Set a playback interval of 10 to 30 seconds per image for a calm rhythm, and enable any options that fit the room, such as a night mode that dims the screen in the evening.
Compare the digital display options before you commit
Dedicated frames are only one way to show photos on a screen. The table below compares the main options by setup, image quality, and ease of updating.
| Option | Setup | Image quality | Cost pattern | Ease of updating |
|---|---|---|---|---|
| Dedicated digital frame | Plug in, join Wi-Fi, link album or app | Good to excellent; 1080p common, higher resolution on larger models | One-time purchase, roughly $80-$300; some cloud subscriptions | Easy via app or email; can be remote |
| Smart display | Plug in, sign in to account, link photo service | Good; screen sizes typically 7-10 inches | One-time purchase, roughly $50-$250 | Easy, but tied to the platform's photo service |
| Television | Connect streaming device or cast from phone | Excellent on large screens; brightness suits dark rooms | Uses an existing TV; streaming device roughly $30-$100 | Moderate; requires casting or a slideshow app |
| Tablet | Stand or mount, run a slideshow app | Good; smaller screens | Uses an existing tablet or roughly $100-$400 new | Easy, but needs charging or constant power |
| Projector | Mount or place, focus, dim the room | Large image but lower contrast in daylight | Roughly $100-$1,000+; bulb or laser life matters | Moderate; needs a source device |
A dedicated frame wins on simplicity and always-on operation. A television gives the largest image for the least new hardware if you already own one, but it dominates a room and is hard to ignore. A tablet is flexible but needs power management and a stand. A projector creates a dramatic wall image but demands a dark room and careful placement. Most households find one dedicated frame plus one printed piece covers both the changing and the fixed display needs.
Screen size, resolution and Wi-Fi requirements
Screen size should match the viewing distance and the wall space. A 10-inch frame suits a bedside table, while a 15-inch or larger model works better on a console table or in a living room. Resolution matters most for detail: a 1080p screen is usually sufficient for everyday viewing, but higher resolution helps if you show landscapes or large, sharp prints.
Wi-Fi requirements vary by model. Many frames need a stable connection to sync new photos, so check signal strength in the room before you buy. Some frames also support offline playback from a USB drive or internal memory, which is useful in a location with weak coverage. Confirm the aspect ratio too: frames built for 4:3 or 16:9 will crop or letterbox images that do not match, so check how the frame handles your typical photos.
Specifications that actually affect what you see
Beyond size and resolution, a few specifications determine whether the display looks good in your room. Brightness is measured in nits; a frame in a bright kitchen needs a brighter panel than one in a dim hallway, and most indoor frames fall in a range that suits normal living-room light. Viewing angle matters for a frame seen from the side of a sofa; an IPS-style panel holds color and contrast better off-axis than a basic panel. Storage and cloud access decide how many photos you can keep loaded: internal storage may hold a few hundred images, while cloud albums can hold thousands but depend on the connection. Check supported file formats (JPEG is near-universal; PNG, HEIC, and video support vary) and whether the frame can read from a USB drive or SD card. Finally, confirm how the frame handles orientation: some rotate automatically, while others crop landscape photos into portrait openings.
Privacy, sharing controls and who can add photos
A frame that accepts photos from others needs clear privacy settings. Review who has access to your album, whether the link is public or invitation-only, and whether family members can add images without your approval. Most reputable frames let you approve each upload before it appears on screen, which keeps the display under your control.
Before you share your album widely, remove any images containing sensitive details such as addresses, documents or children's school information. Check the manufacturer's data policy so you know how long photos are stored and whether they are used for anything beyond display. Setting a clear sharing rule with your household helps the frame stay enjoyable rather than becoming a source of concern.
Watch out: a shared album link that is set to public can be forwarded beyond the people you intended, so use invitation-only sharing and review the guest list whenever someone new joins.
Plan for power, maintenance and the life of the device
A frame is a small computer, and it will eventually stop receiving software updates. Before you buy, check the manufacturer's support policy and whether the frame depends on a cloud service that could change or shut down. A frame that can play from a USB drive or local storage keeps working even if the companion app is retired. Power use is modest for most frames, but a night mode or scheduled sleep saves energy and extends screen life. Dust the screen with a dry microfiber cloth, keep it out of direct sunlight, and avoid spray cleaners near the electronics.
Preparing Your Digital Photos So They Look Good on Screen and in Print
Good display starts with good files. A photo that looks sharp on a phone can look soft on a 15-inch frame or blurry as a print if it was not prepared properly. The goal is to match the file to the output: a screen needs enough pixels for its resolution, and a print needs enough pixels for its size at a reasonable viewing distance.
For printing, a common target is 300 pixels per inch at the final size. A 4,000 by 3,000 pixel image, for example, can support a print of roughly 13 by 10 inches at that density. Larger prints can still look good from a few feet away with lower density, but starting with a high-resolution original gives you the most flexibility. Avoid enlarging a small file beyond its capacity, because the software will invent detail and the result will look soft.
Simple preparation steps help the image hold up:
- Crop to the frame's ratio before you print so the composition stays intact.
- Adjust exposure and white balance on a calibrated screen, since uncalibrated monitors often show images too dark or too blue.
- Sharpen lightly at the final output size, not earlier in the process.
- Use a standard color profile such as sRGB when sending files to a home or online printer.
Test a print before ordering a large run. A small proof at the target size reveals whether colors and sharpness match what you saw on screen.
How to Display Multiple Photos on a Wall Without Making a Mess
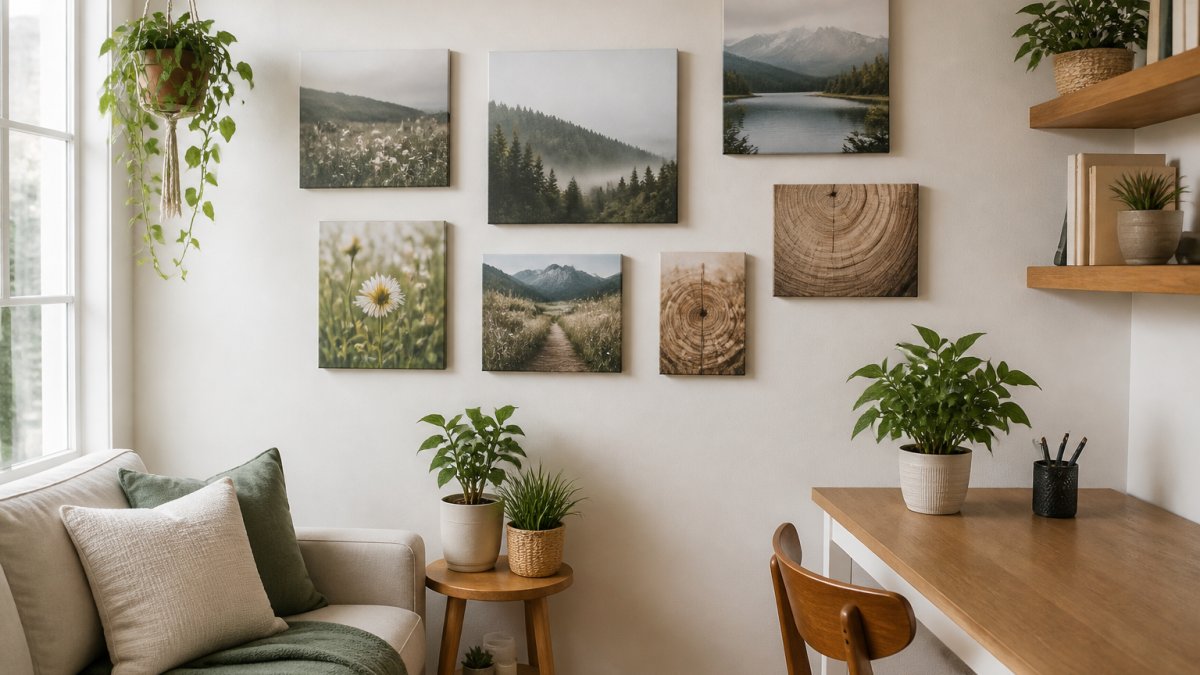
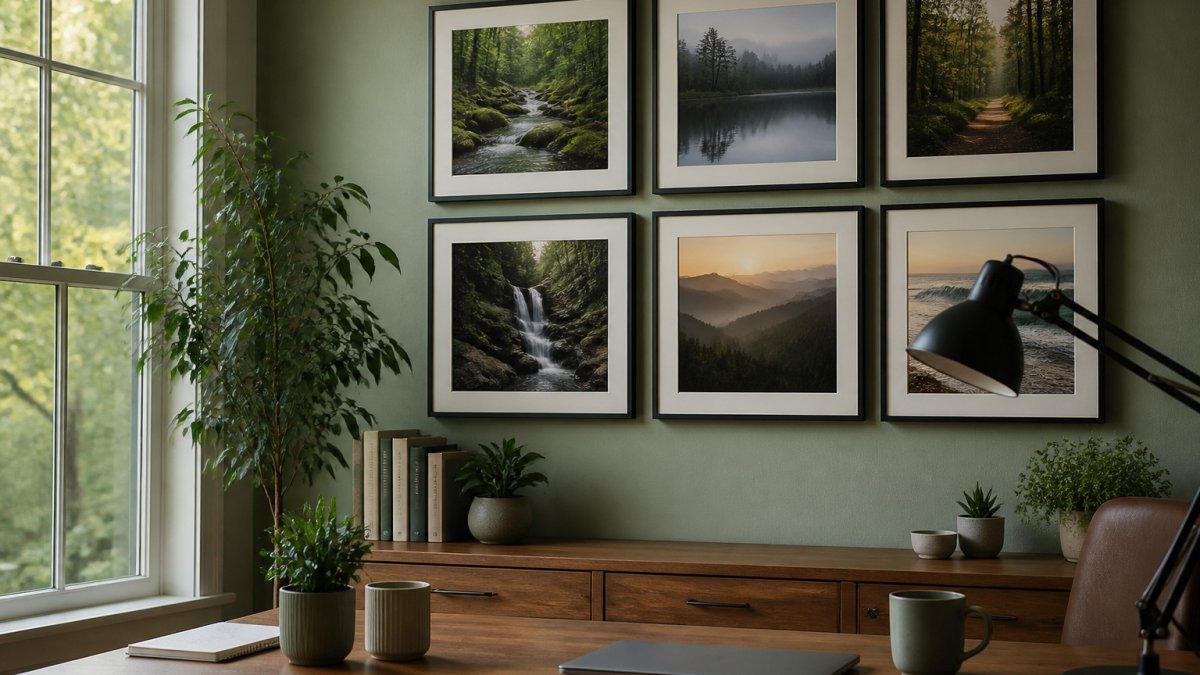
Displaying several photos together creates a gallery effect that tells a story. The challenge is keeping the arrangement balanced rather than crowded. A good approach is to plan the layout on the floor first, using kraft paper cut to each frame's size, then transfer the pattern to the wall with painter's tape before any holes go in.
Keep spacing consistent, usually 2 to 3 inches between frames, and anchor the group around a central piece that sets the tone. Mix sizes thoughtfully: one large image surrounded by smaller ones reads more intentionally than a grid of identical sizes. Aligning the frames along one edge, such as the top or bottom, can also keep the display tidy.
For a changeable arrangement with no drilling, try a picture ledge. A narrow shelf lets you lean photos against the wall and swap them in seconds. Binder clips or small print hangers on a cord create a similar effect and suit renters who want flexibility. Limit each group to five or seven images so the eye has a clear path through the display.
Photo Display Ideas Without Frames for Renters and Minimalists
Frameless display is practical for renters and appealing to minimalists. The simplest method is a clip-and-cord system: string a thin wire or cord between two hooks that are removable or placed on a picture rail, then pin prints with clothespins or small clips. Photos can be swapped quickly, and nothing permanent touches the wall.

A photo easel on a desk or shelf offers another frame-free option. It holds a print upright without any mounting, and you can rotate images as often as you like. Stacking a few prints in a tray or a shallow box also works well on a console table, giving a layered look that changes with each reach into the pile.
Several everyday items can serve as display hardware, including a wooden leaning ladder, a set of small shelves or a fabric banner. For wall-friendly adhesive, look for products labeled removable and test a small area first to avoid paint damage. The aim is a display that feels deliberate and calm, with few objects competing for attention.
Photo Display Ideas for Living Room Spaces
The living room is the best place for a statement display because it is where you spend the most time together. A large landscape print above a sofa anchors the room, while a digital frame on a side table adds movement. For a statement piece, browse a large high-resolution beach sunset print. Choose images that share a color palette with your furnishings, such as warm sunset tones for a neutral room or cool blues for a space with more contrast.
Scale matters. A large print should roughly match the width of the sofa or the piece of furniture beneath it, and it should hang so its center sits about 57 to 60 inches from the floor, a common guideline in interior design. Smaller prints work well on a bookshelf or mantel, grouped in odd numbers for a relaxed look.
For a cohesive room, consider a single theme across all displays: coastal scenes, forest views or everyday street moments. You can find calming nature prints that suit a relaxed shared space. Rotate the selection each season to keep the room feeling fresh without buying new décor. Digital frames make seasonal updates especially easy, since you can refresh the whole rotation from your phone.
Accessibility, Maintenance and Ongoing Costs to Plan For
Good display design also considers everyone who will view the images, and the practical costs of keeping a display running for years. This is where most photo-display guides stop, but a little planning keeps a display enjoyable for every guest and avoids surprises later.
Make the display work for every viewer
Place frames and prints at a height that works for seated and standing viewers; a common guideline is to center wall art about 57 to 60 inches from the floor, which suits most adults whether standing or seated nearby. Choose images with good contrast so details remain visible in softer lighting, and avoid placing a glossy print opposite a bright window where glare washes out the image. Digital frames often include brightness controls, which help people with light sensitivity or low vision; set the brightness to match the room rather than the maximum. Large-print captions or labels make a gallery easier to enjoy for guests with different needs, and a frame with physical buttons or a simple remote is easier to operate than one that depends on a phone app alone. For older adults, a frame that can be updated remotely by family members removes the need to manage the device at all.
Maintenance that protects the image and the device
Dust screens gently with a dry microfiber cloth, avoid spray cleaners near electronics, and keep frames away from direct sunlight, which fades prints over time. Glass-fronted frames can reduce fading but add glare, so consider UV-protected glass or matte finishes depending on the room. For digital frames, check for software updates periodically, keep the frame ventilated, and avoid touching the screen with sharp objects. Printed photos benefit from archival or acid-free mats and backing, which slow yellowing; a frame with a mat also keeps the print off the glass and reduces condensation damage.
Understand the ongoing costs
Ongoing costs vary by format. A digital frame carries electricity use and possible subscription fees for cloud storage, while printed displays require paper, ink or printing services and occasional reframing. Check whether a frame works without a subscription and whether free storage is enough for your library. Pricing for prints and digital files depends on size, format, quantity and delivery, so check Photos by Mark Page's website for current prices or a quote before you decide.
Watch out: a "free" cloud album can change its terms or storage limits, so keep a local copy of any photo you would be upset to lose.
Choosing Your First Display Setup This Weekend
You do not need a complete gallery to start. Begin with one room and one display format. Choose a single wall, a shelf or a side table, pick five to ten images you already love and decide between a digital frame and a printed piece. A frame-free clip system or easel is a low-commitment way to test how much you enjoy seeing your photos every day.
On the weekend, measure the space, prepare two or three files at the right resolution and set up the display. Live with it for a week. Notice which images you look at, which ones feel out of place and whether you want to add more. Adjust the selection and layout based on what you see, and build from there.
When you are ready for a larger display, explore Photos by Mark Page's collection of digital downloads and custom collaborations. Browse the nature and everyday-moment images to find pieces that suit your room, and reach out for a quote if you want a personal project. Start small, enjoy the result and let your home show the beauty around you.
Frequently Asked Questions
What is the best way to display photos digitally?
For most homes, a Wi-Fi digital photo frame with a 10 to 15 inch screen is the simplest option. Choose a model that lets you add photos from a phone app or a shared album, so new images appear without a memory card. Set it near a regular power outlet, rotate photos through a slideshow, and check the privacy settings so only people you invite can send pictures. A smart display or a TV can also work if you already own one.
How do I display multiple photos on a wall?
Start by laying your frames or prints on the floor in the arrangement you like, then trace or mark the layout on paper. Keep spacing between frames consistent, usually 2 to 3 inches. Anchor the center piece first and build outward. Hang a gallery wall at eye level, about 57 to 60 inches to the center, and use a level as you go. Mixing sizes and frame styles gives a more finished look.
Can I display photos without using frames?
Yes. Clip prints to a picture ledge, string them along a wire with mini clips, or pin them to a corkboard or fabric panel. Binder clips and magnetic strips on a metal surface also work well. Photos without frames suit renters because they leave no holes or marks, and you can swap images in seconds. Use a photo-safe print finish to reduce fading from direct sunlight.
What are some photo display ideas for a living room?
Try a gallery wall above the sofa, a picture ledge running along one wall, or a digital frame on a console table. A large-format print makes a strong focal point over a fireplace. In a narrow hallway, a row of small prints works better than one large piece. Choose images with a shared color palette so the room feels cohesive, and swap seasonal photos to keep the space fresh.
How should I prepare my digital photos before displaying them?
Select your strongest images, then sort them into folders by theme or room. Check resolution: photos for a print at 8 by 10 inches should be at least around 2400 by 3000 pixels. For screens, a file at or above the display's native resolution looks sharpest. Crop to the frame's aspect ratio before you print, and avoid heavily compressed images from messaging apps, which often look soft when enlarged.