 how-to
Is a Custom Nature Photography Collaboration Worth It?
Last Updated: November 4, 2026
Quick Summary
A custom nature photography collaboration is a project where you commission a photographer to create images built around your own vision. It moves through a clear sequence: an inquiry, a written brief, a signed agreement on scope and usage rights, a planned shoot, then selection and delivery of the final files.
- Start with a short inquiry covering where the artwork will hang, your favorite scenes, rough timing and output format.
- Write a one-page brief covering subject, mood, intended use, must-haves and reference images.
- Confirm scope, fees, expenses, usage rights and payment milestones in writing before any shoot begins.
- Build a buffer into the schedule, since weather and wildlife can delay a nature shoot.
- Give specific feedback by image number and name the adjustment, and confirm revision limits before approving.
Table of Contents
- What a Custom Nature Photography Collaboration Actually Involves
- Step 1: Starting the Conversation and Sharing Your Inquiry
- Step 2: Writing a Clear Brief for Your Nature Photographer
- Step 3: Agreeing on Scope, Fees, Usage Rights and Payment Milestones
- Step 4: Planning the Shoot, Location and Timing
- Understanding the Nature Photography Collaboration Timeline
- Commissioning Fine Art Nature Photography: Delivery, Revisions and Your Next Step
- Frequently Asked Questions
What a Custom Nature Photography Collaboration Actually Involves
A custom nature photography collaboration is a project where you commission a photographer to create images built around your vision, not just pick from existing work. The process is a series of clear steps, from the first message to the final delivery of images.
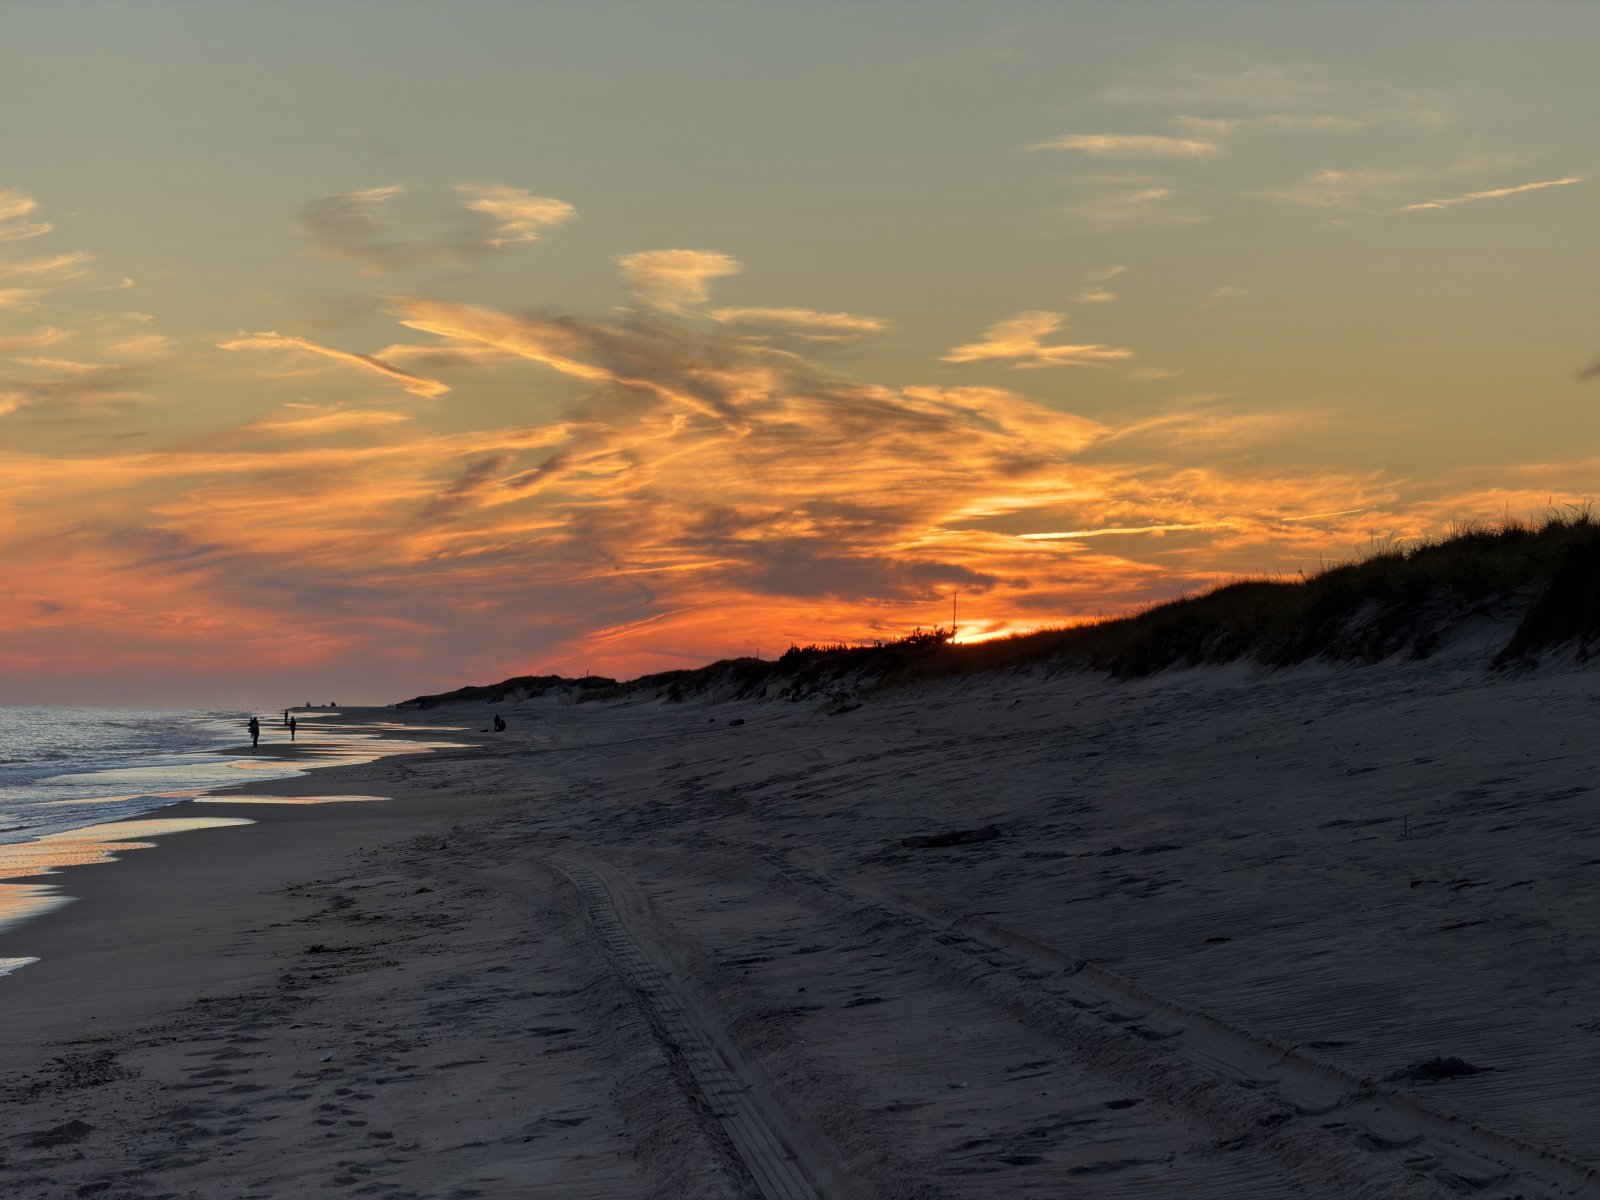
Think of it as hiring an artist for a specific piece. You share what you care about, the photographer plans the shoot, and you review and approve the results. The custom nature photography process works best when both sides know their roles from the start.
Here is what the collaboration usually covers:
- A conversation about your goals, space and taste
- A brief that describes the subject, mood and use
- Agreed scope and fees with clear payment steps
- A shoot plan based on location, season and light
- Delivery and revisions before you commit to a final print
Nature work depends on conditions the photographer cannot fully control. Weather, wildlife behavior and seasonal light all shape the result.
Step 1: Starting the Conversation and Sharing Your Inquiry
The first step is simply reaching out. Most collaborations begin with a short inquiry that explains who you are and what you want to create. Keep it brief, but include enough detail that the photographer can judge fit.
A strong first message usually includes:
- Where the artwork will hang, such as a bedroom, office or hallway
- The subjects or scenes you love, such as mountains, coastlines or wildflowers
- Rough timing, including any deadline or season you prefer
- Whether you want digital files, prints or both
Be honest about your budget range early. Pricing depends on quantity, dates, travel and delivery, so for current prices or a quote, contact Photos by Mark Page directly. Avoid asking for a fixed price before the scope is clear.
Watch out: vague requests like "something calming" lead to long back-and-forth emails. One specific example saves days of guessing.
Step 2: Writing a Clear Brief for Your Nature Photographer
A brief turns your idea into a plan the photographer can act on. It does not need to be long. One page covers most projects well.
A useful brief answers these questions:
- Subject: What should appear in the image?
- Mood: Is it quiet, dramatic, bright or misty?
- Use: Where will the image live, and at what size?
- Must-haves and no-gos: Any elements to include or avoid
- Reference images: Examples you find inspiring, shared as links
Attach reference photos where you can. A few examples show the photographer your taste faster than any description. Note which parts of the reference you like and which you do not.
If you are not sure what you want yet, say so. The photographer can help you refine the concept during the first conversation.
Step 3: Agreeing on Scope, Fees, Usage Rights and Payment Milestones
Before any shoot, both sides should agree on the details in writing. This protects you and the photographer, and it is the stage where most custom collaborations either run smoothly or fall apart. A written agreement does not need to be intimidating, a short letter of agreement or a standard photography services contract both work, but it should cover the items below in plain language.
- Scope: The number of final images, the subjects, the file formats (for example, high-resolution JPEG or TIFF), and whether raw files are included. Confirm whether raw files are included before you assume otherwise.
- Fees: The total project fee and exactly what it includes, shoot time, editing, previews, final files, and any prints.
- Expenses: Travel mileage, lodging, park or refuge entrance fees, permits, and specialized equipment rental, and who pays for each. Ask whether expenses are billed at cost or with a markup.
- Usage rights: Whether you receive a license or a transfer of copyright, and precisely how you may use the images.
- Releases: Whether model releases (for identifiable people) or property releases (for recognizable private land or buildings) are needed, and who is responsible for obtaining them.
- Payment milestones: When the deposit, any progress payment, and the final balance are due.
- Revision limits: How many rounds of edits or re-crops are included, and what additional rounds cost.
- Cancellation and weather policy: What happens to the deposit if conditions force a reschedule, and how many reschedules are allowed.
Usage rights deserve more attention than most buyers give them. Copyright in a photograph generally belongs to the photographer unless it is transferred in writing, so a commission often grants a license rather than ownership. That license should state the media (print, web, social), the term (perpetual or a set number of years), the territory, and whether the license is exclusive. A personal print for your wall is a very different license from a commercial product, an advertisement, or a public website. Ask the photographer to spell out permitted uses before you pay, and get any expansion of use, such as turning a personal print into a holiday card run, agreed in writing, since it usually carries an additional fee.
Releases matter most when people or private property appear in the frame. A model release lets the photographer (and you, if the license extends to you) use an identifiable person's likeness commercially; without one, uses are generally limited to editorial or fine-art contexts. Property releases serve a similar function for recognizable private buildings and land. If your project involves either, confirm in the agreement who obtains the release and by when.
Payment milestones follow a common pattern. Photographers commonly take a deposit to reserve dates and begin planning, then bill the balance before final delivery of high-resolution files or prints. Confirm the deposit terms with Photos by Mark Page when you request a quote. For larger custom projects, a progress payment after the shoot and before editing is also common. Ask how a change in scope affects the fee, and get the answer in writing before work begins. Clear milestones keep the project moving and prevent surprises at the end.
Watch out: a verbal understanding about usage or revisions is not a substitute for the written agreement, if it is not in the document, assume it is not included.
Step 4: Planning the Shoot, Location and Timing
Once the agreement is signed, the photographer plans the shoot. This stage depends on location, season and weather. A photographer may scout a site, check tide or sunrise times, or wait for a specific kind of light.
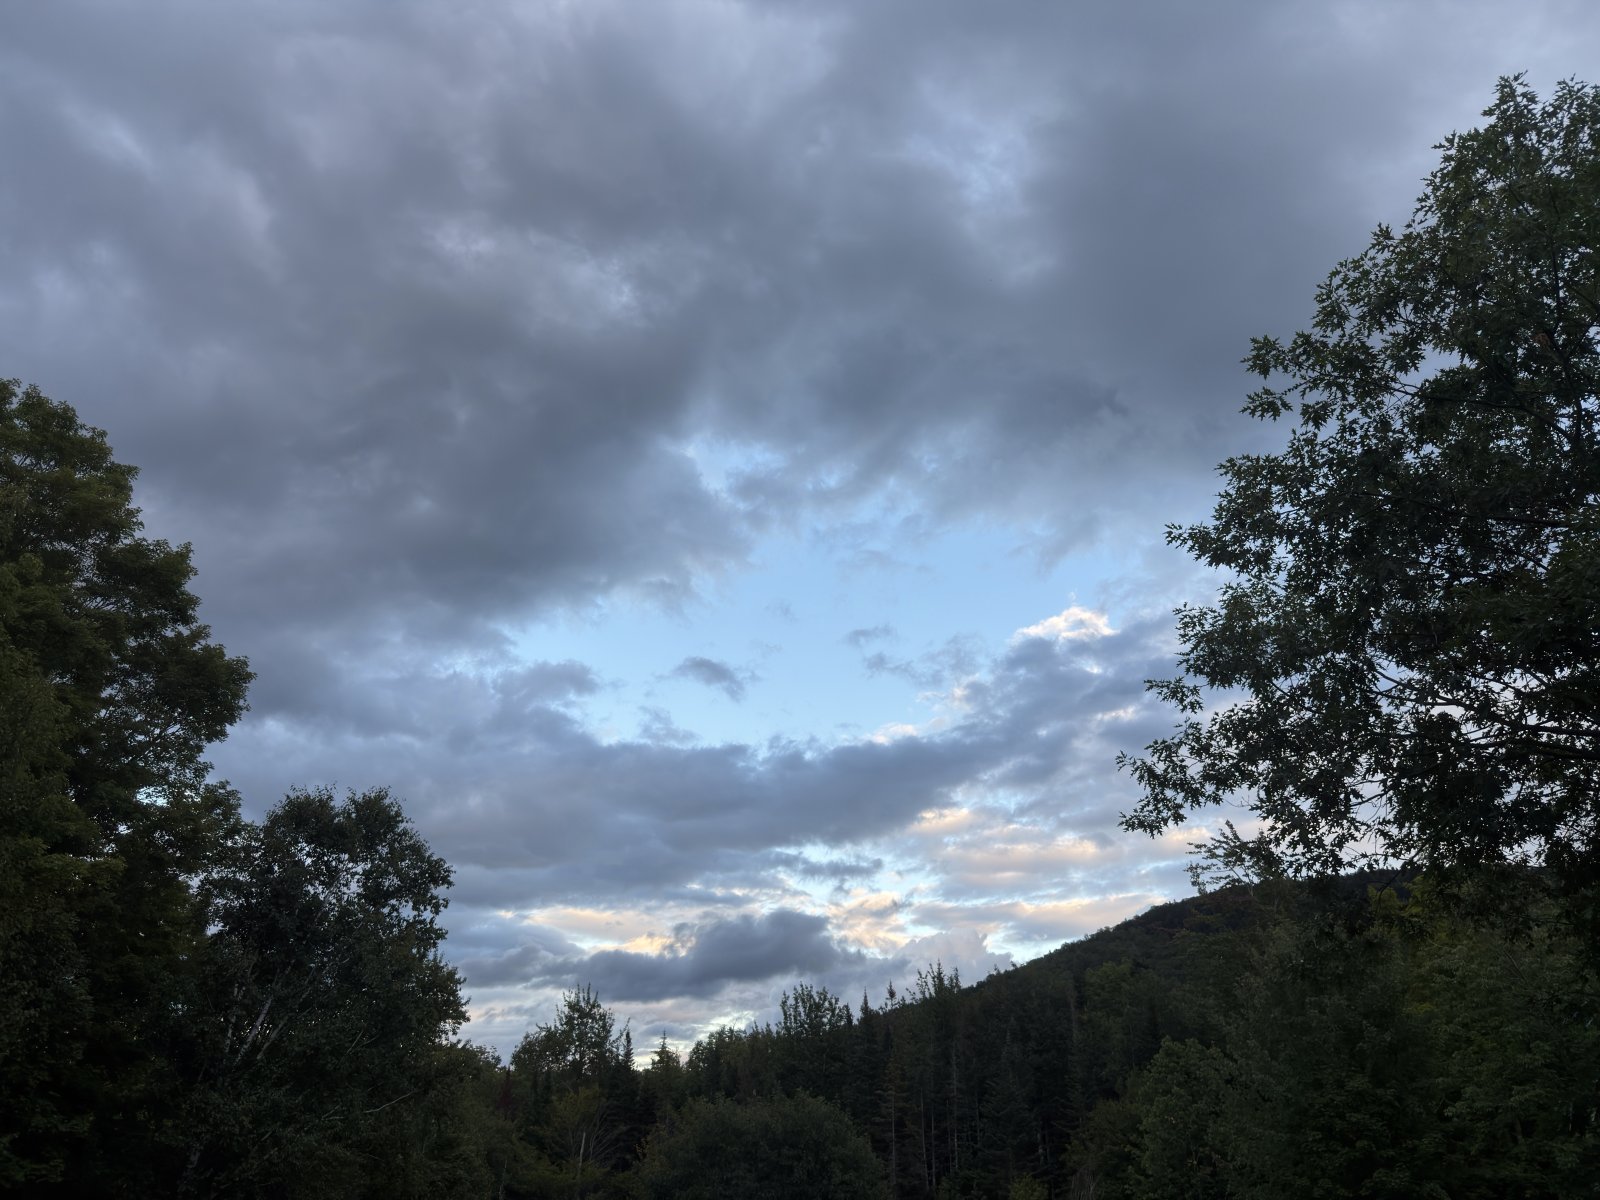
Timing often matters most. Dawn and dusk give soft, warm light. Overcast days suit calm, even tones. Some subjects, such as migrating birds or seasonal flowers, appear only for short windows.
Expect some flexibility. Weather can delay a shoot, and a planned location may become unsafe or inaccessible. A reliable photographer will explain the backup plan before the day arrives.
Watch out: do not push for a fixed date when the subject depends on nature. Build in a buffer so the shoot can happen when conditions are right.
Understanding the Nature Photography Collaboration Timeline
Most projects follow a rough timeline, though the length varies with the scope and the season. Many people find it helpful to picture the process in phases.
| Phase | What happens | Typical role of the client |
|---|---|---|
| Inquiry | Share goals and rough budget | Describe your space and taste |
| Brief | Refine the concept | Supply references and must-haves |
| Agreement | Confirm scope, fees and rights | Review and sign |
| Shoot | Capture images in the field | Usually hands-off, may receive updates |
| Selection | Photographer picks strongest frames | Review previews and give feedback |
| Delivery | Final files and any prints arrive | Approve and complete final payment |
The exact timing depends on weather and the photographer's schedule. Ask for a realistic estimate at the agreement stage, and confirm whether delays affect the price.
Commissioning Fine Art Nature Photography: Delivery, Revisions and Your Next Step
Delivery is the stage where the work becomes real, and it is also where unclear expectations cause the most friction. A well-run collaboration sets the rules for selection, feedback, and revisions before the first preview ever arrives.
How selection usually works. Most photographers deliver a curated set of proofs rather than every frame from the shoot. The proofs may arrive as a private online gallery, a watermarked PDF, or low-resolution JPEGs, and they are typically numbered so you can refer to specific images. Ask at the agreement stage how many proofs you will see and whether you may request additional frames from the shoot. A common pattern is for the photographer to present the strongest 20 to 40 frames from a session and let you choose the finals from that set.
Giving feedback that gets results. Vague notes like "make it warmer" or "I don't love it" force guesswork. Specific notes work far better: "Image 14, please lift the shadows on the foreground rocks and warm the overall white balance slightly" or "Image 22, I prefer the wider crop that keeps the full arc of the shoreline." Reference the image number, name the adjustment, and say why. If you are choosing among several finals, rank them rather than describing each one.
Revision limits and what counts. Agreements may include a set number of revision rounds, covering adjustments such as crop, color balance and contrast. Confirm the revision terms with Photos by Mark Page. Substantial changes, such as compositing elements from different frames or extending the scene beyond what was captured, usually fall outside the included rounds and carry an additional fee. Ask what counts as a revision versus a new request, and confirm the cost of additional rounds before you approve the first one.
Resolving disagreements. Creative differences are normal in a custom project. A useful starting point is to return to the brief: does the image meet the subject, mood, and use you agreed on? If it does, the disagreement is usually about taste, and the photographer's judgment about the strongest frame is worth weighing. If it does not, point to the specific brief item that is unmet. If a shoot simply did not produce a usable image because of conditions, ask what the agreement says about a reshoot or a credit toward a future session, many photographers offer one, but it should be in writing.
Final delivery. Once you approve the finals, the photographer prepares the files at the resolution and color space you need. For print work, ask about the intended print size and finish before the final file is prepared, since a file optimized for a 16x24 inch print is not the same as one prepared for a large acrylic face-mount. Confirm the delivery method (download link, drive, or physical media), how long the download stays live, and whether a backup copy is included.
When you are ready to move forward, you can explore the current lineup of finished work to see how it fits your space. The Explore Our Current Lineup page shows the current products. If you are weighing a custom project against existing work, the Shop page is a place to start.
For more background on the photographer behind the work, visit the About page.
A custom nature photography collaboration takes planning, but the process is clear once you know the steps. Start with a short inquiry, write a focused brief, agree on the details in writing, stay flexible about timing, and treat selection and revisions as a structured stage rather than an afterthought. That approach gives you artwork that reflects your own view of the natural world.
Frequently Asked Questions
What is a custom photography collaboration?
A custom photography collaboration is a project where you commission a photographer to create images built around your own vision, memories or a specific place, rather than buying a ready-made image. You share a brief describing the subject, mood, intended use and any personal meaning, and the photographer plans and captures scenes to match. Expect a discussion before any shooting, agreed deliverables, and a final selection of images for you to choose from. Because the work is made for you, it usually involves more back-and-forth than purchasing an existing photograph.
How do I commission a nature photographer for custom work?
Start by contacting the photographer with a short inquiry that explains what you want, where it would be displayed and roughly when you need it. Share examples of images you like and describe the feeling you want the piece to create. A good photographer will reply with questions about location access, timing and scope, then send a written proposal. Once you agree on the proposal and sign off on the usage terms, the planning stage begins. Clear early communication prevents most misunderstandings later in the process.
How do I brief a nature photographer effectively?
Keep your brief specific but flexible. Include the place or type of landscape, the time of year, the mood you want, the size you plan to print or display the work at, and any must-have elements such as a particular tree, coastline or wildlife behavior. Name the way you intend to use the images, whether for personal decor, a gift or a business. Mention any restrictions, such as private property or seasonal access limits. Leave room for the photographer's judgment about light and conditions, since the best results often come from adapting to what the day offers.
What should I expect during a nature photography collaboration timeline?
Most collaborations move through an inquiry, a proposal and agreement, planning and scouting, the shoot itself, image selection, and final delivery. Timelines vary with weather, season and how quickly feedback comes back, so build in buffer days for poor conditions. Ask the photographer for an estimated schedule in writing before you pay any deposit, and confirm which milestones trigger each payment. Clear dates for feedback and revisions help keep the project on track from start to finish.